When I started learning about databases, Docker didn't even exist yet. So I spent hours trying to make both the database engine and the workspace interface to work, and there are so many little details in the setup that I'm sure you'll find thousands of articles and videos teaching how to do it in your operating system.
But it's 2023 and containers are a common thing to developers, and honestly you don't even need to understand them to use them. All you need to know is how to install it (and for this, you can check the Install Docker Engine tutorial from docker themselves) and how to run it.
Prerequisites
Docker CLI
Docker Compose
a browser
It's supposed to be easy so that's all.
Setting up
You'll need two files to make this work.
docker-compose.yml
Docker Compose is a tool made to define and run multi-container applications. All you need to do is define your services, do some setups and run it.
version: '3.8'
services:
    postgres:
        image: postgres:15
        environment:
            - POSTGRES_USER=postgres
            - POSTGRES_PASSWORD=password
        volumes:
            - postgres-db-volume:/var/lib/postgresql/data
        ports:
            - 5432:5432
        networks:
            - postgres-db-network
    pgadmin:
        image: dpage/pgadmin4
        environment:
            PGADMIN_DEFAULT_EMAIL: 'teste@teste.com'
            PGADMIN_DEFAULT_PASSWORD: 'teste'
        ports:
            - 16543:80
        volumes:
            - ./servers.json:/pgadmin4/servers.json
        networks:
            - postgres-db-network

volumes:
    postgres-db-volume:
        driver: local
        driver_opts:
            type: none
            o: bind
            device: ./data
networks:
    postgres-db-network:
        driver: bridge
Here we are using two containers:
one for the database itself, which is based on the Postgres 15 image. We also define the port for the database, a volume and some environment variables to set the default user and password for our connection.
the other is for pgAdmin, which is a Postgresql database administration tool. It is also open source, and this way we can manage and interact with our databases using the browser. You can see that we set the port to 16543. This means you'll access it by typing localhost:16543 in your browser. You can change this port, but I like to use a number that probably won't be used for anything else.
servers.json
We don't actually need this file, because in pgAdmin you can use the interface to configure your connection (and set the host, port, user and password). But since I want to make this easier, we use this file to pass these options that will be loaded when our container starts.
{
  "Servers": {
      "1": {
          "Name": "example",
          "Group": "Servers",
          "Host": "postgres",
          "Port": 5432,
          "MaintenanceDB": "postgres",
          "Username": "postgres",
          "PassFile": "/pgpass",
          "SSLMode": "prefer"
      }
  }
}
Running it
With both of these files created, all you need to do is go to their directory and run
docker compose up
This will download the images and start both containers with everything as described in our docker-compose.yml, while logging everything in your terminal. If you don't want that, you can just run it detached with the -d flag
docker compose up -d
This way your containers will be running in background.
To stop the containers, you can use Ctrl+C in case it's running attached to your terminal session, or you can run
docker compose down
Using it
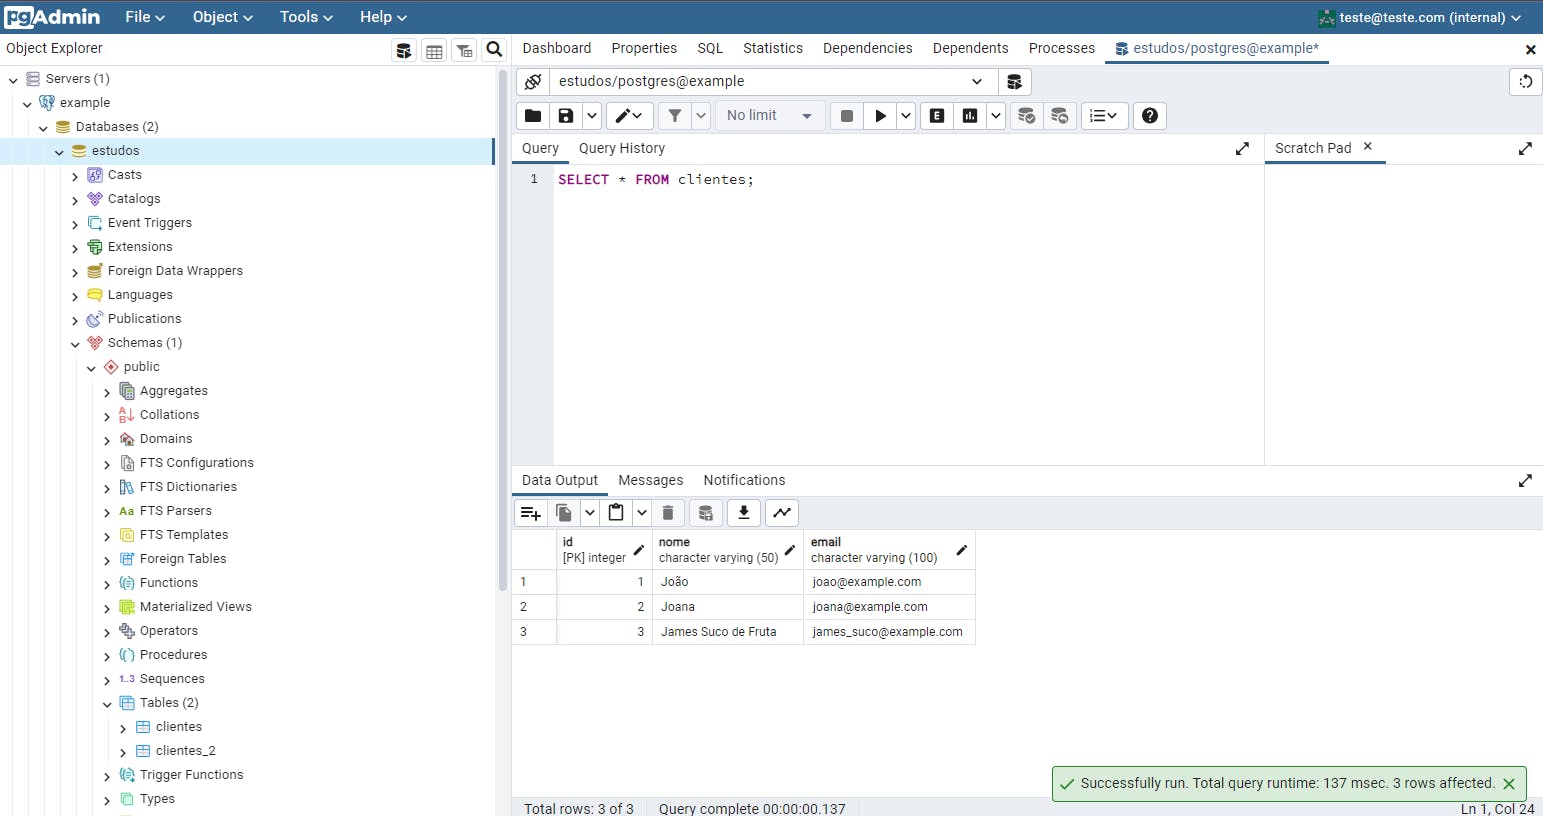
While your containers are running, you'll go to localhost:16543 in your browser and access the pgAdmin dashboard. The first time you open it you'll need to log in with the credentials we set up in our docker-compose file. If you didn't change it, it's teste@teste.com and the password is teste.
Once you're logged in, you can access the connections by clicking Servers at the menu on the right. The first time you open it, it will ask you for the password of the connection. This is also in the docker-compose, and in our example it is password.
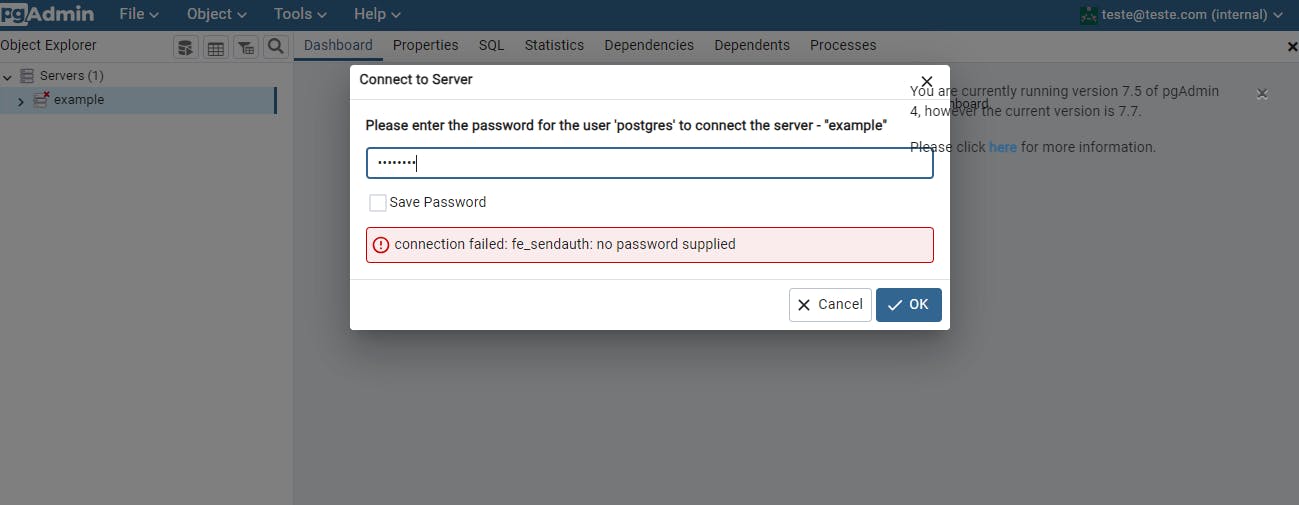
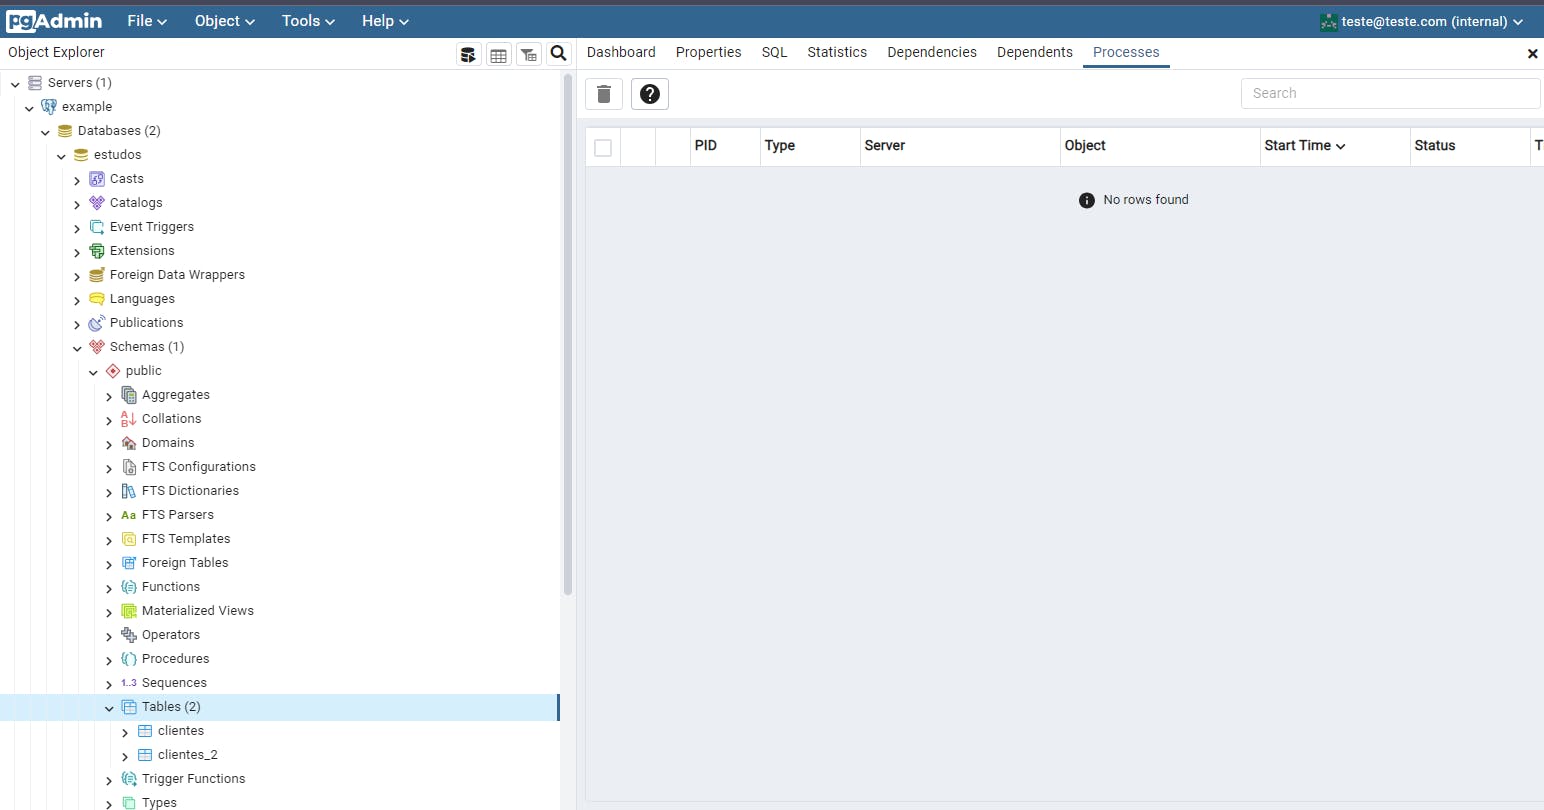
Once you are connected, you can right-click on Databases and create your own. In case you're not used to Postgresql, it has the concept of "schemas", and that's where you'll find your tables.
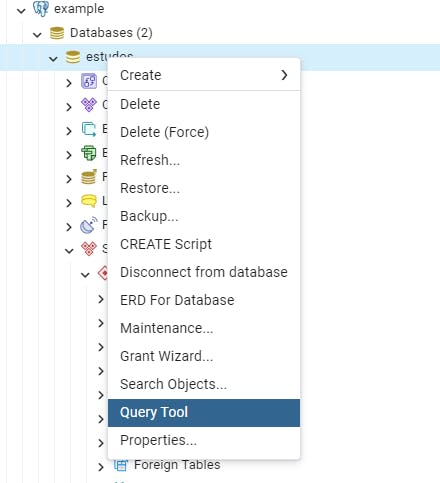
After this point, you can just use it as you want. You can right-click your database and click on Query Tool to write and run your SQL scripts
In case you want it, I've put these files on my github:
That's all, hope this helps someone and follow me for more content. If you like it, share it with someone you think might need this.

